The second half of 2023 has been a time in which I’ve accomplished little in the design/build realm, relative to my general hopes for myself and the quantity of projects I want to produce. A longer meditation on that will follow this post, and I won’t blame anybody for skipping that. But in this post, I want to show off a couple of the cool half-frame bags I’ve built for my bikes, and one that’s in progress for somebody else’s.
The Woodlands

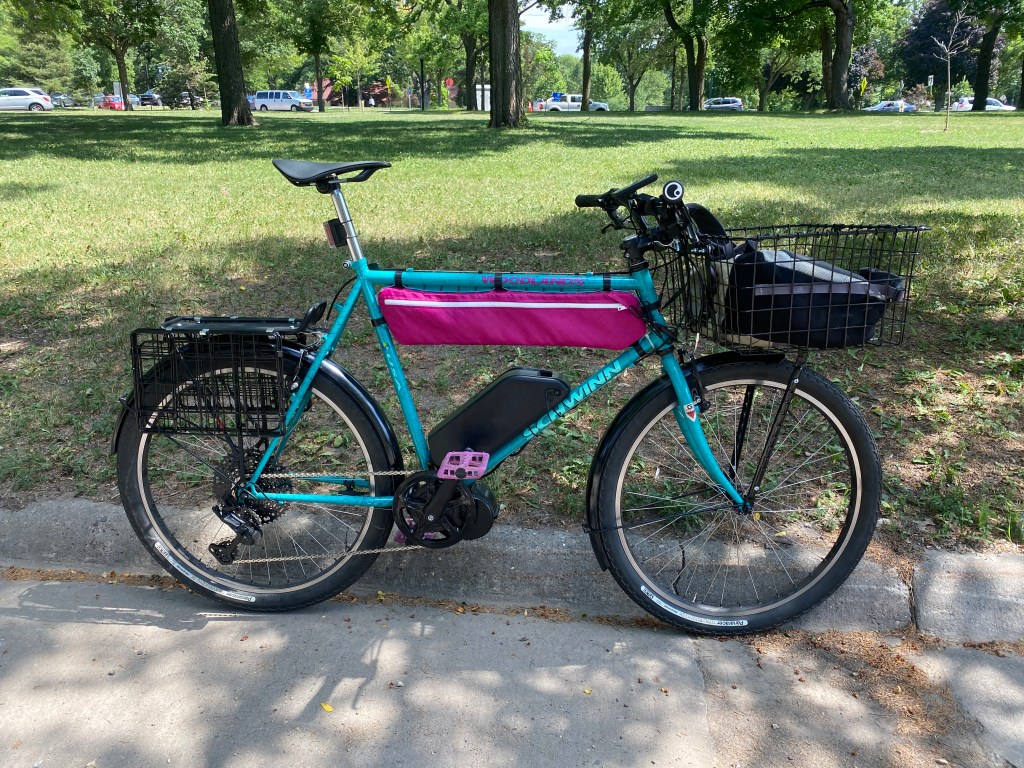


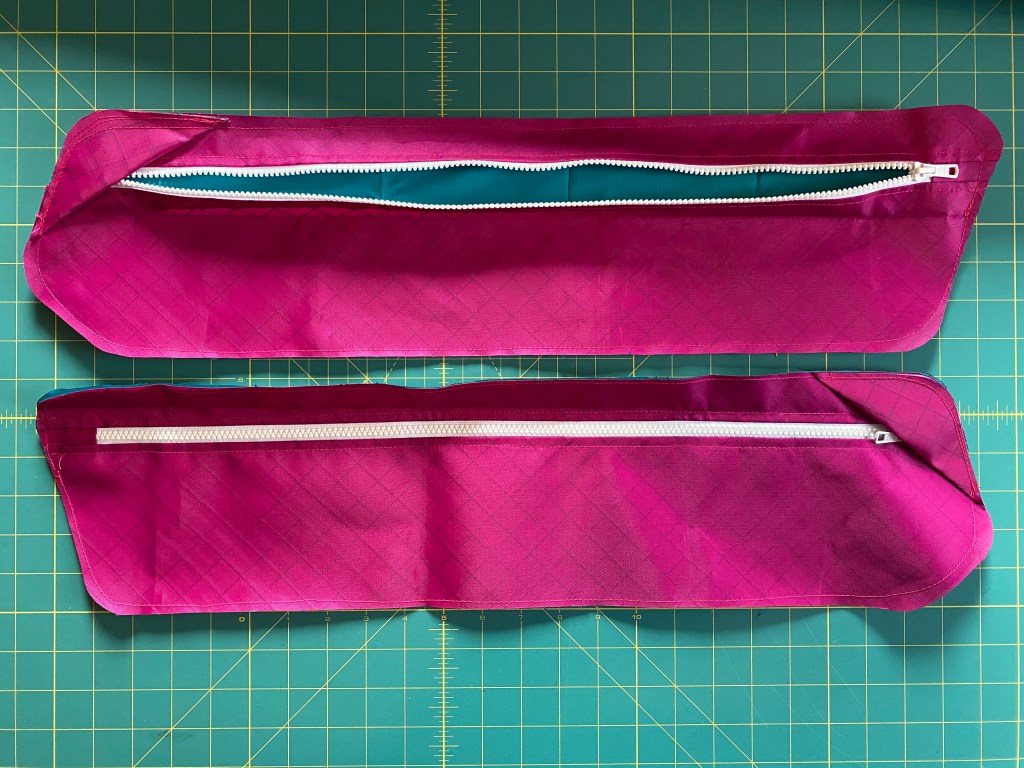
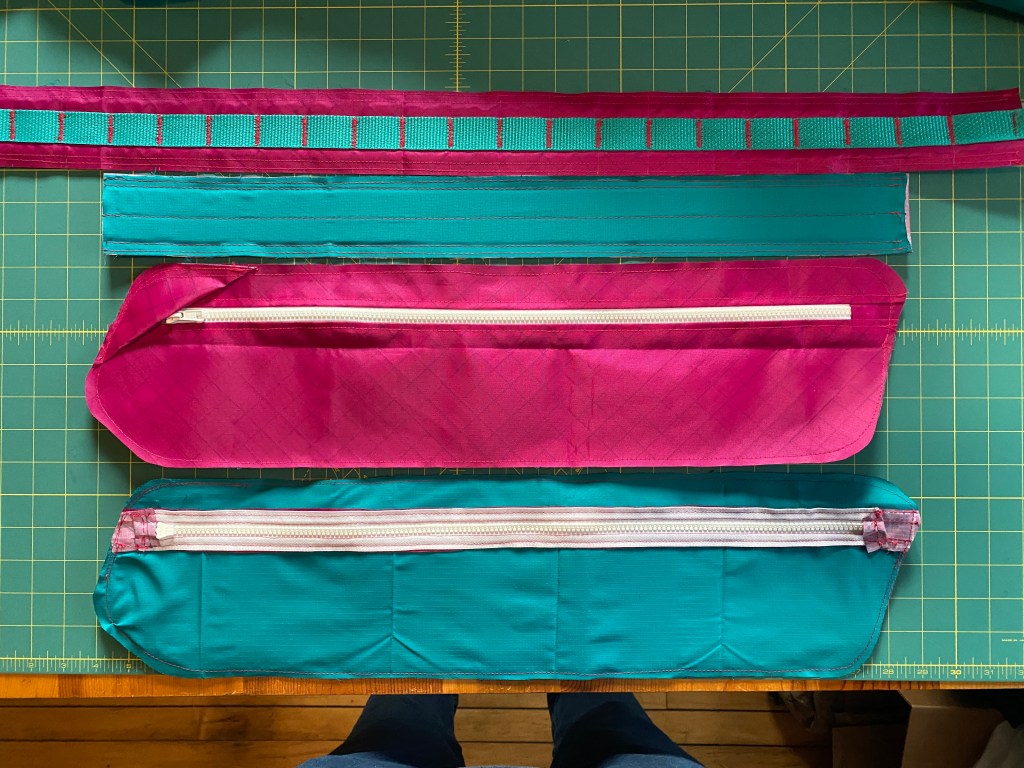
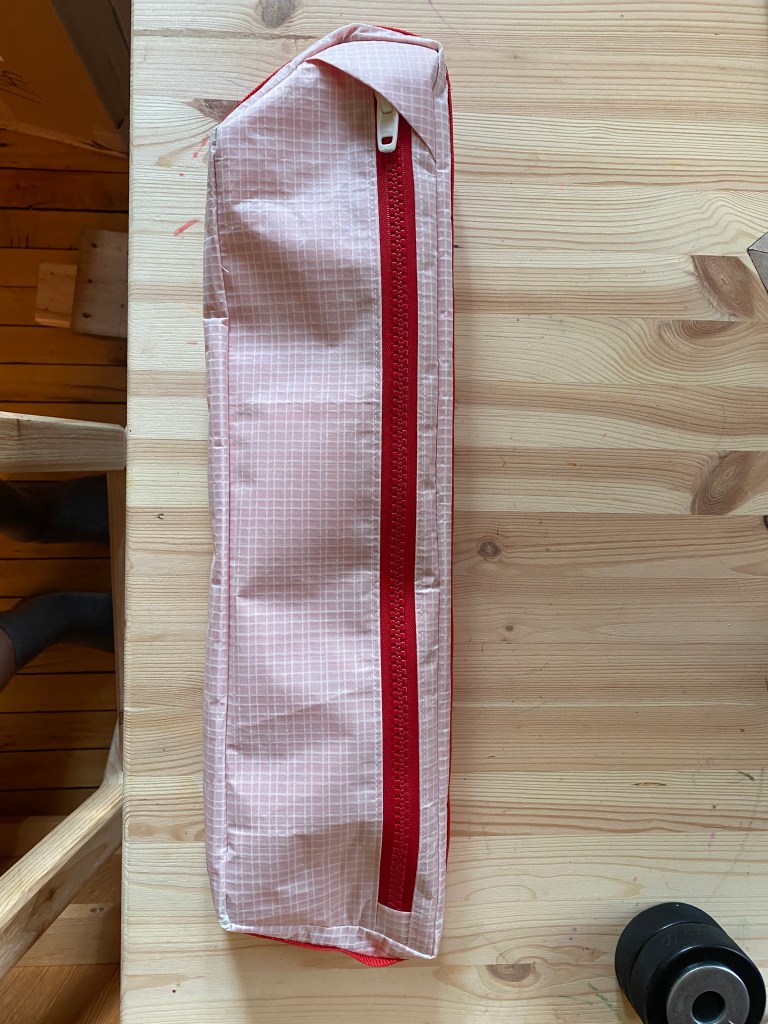
The first bag I made this year was for my beloved early ’90s Schwinn Woodlands. I picked the fuchsia Ecopak because it matched the fuchsia decals on the bike and I sourced the teal lining fabric from RBTR to match the rest of the frame. The zippers are YKK #5s and there’s a 1/32″ HDPE stiffener in the gusset surround. The pack has a large full-body compartment accessed via the right zipper and a thin trash/phone pocket accessed via the left. My phone does get sticky on occasion, but cargo bibs have helped tremendously in that area.
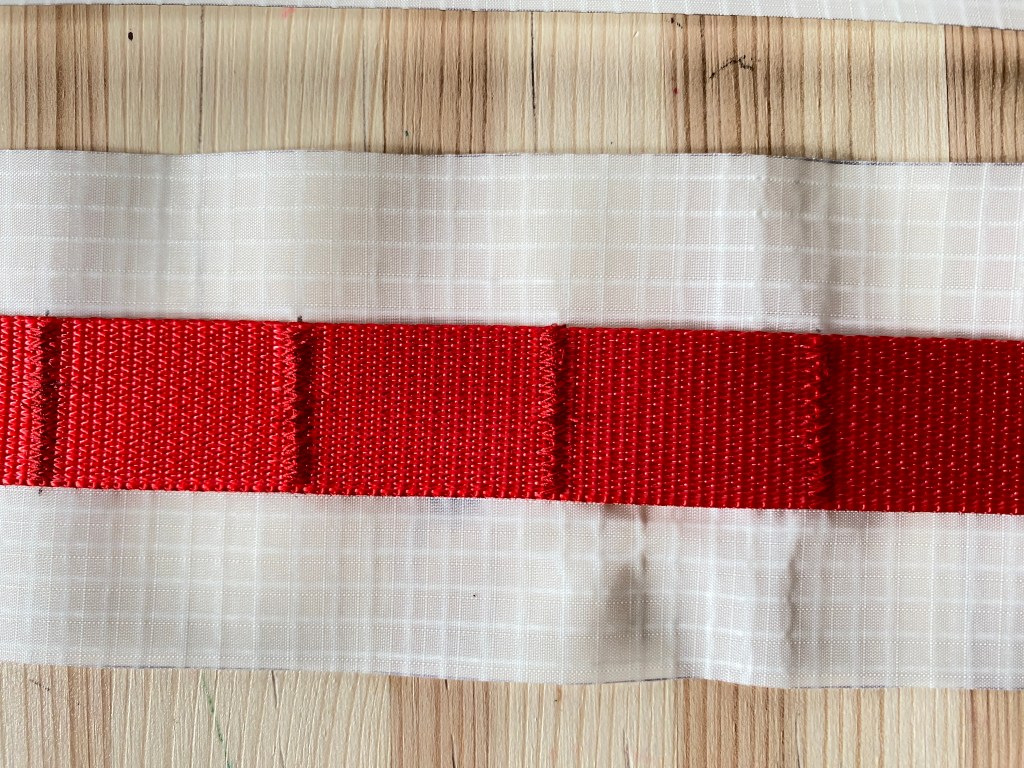
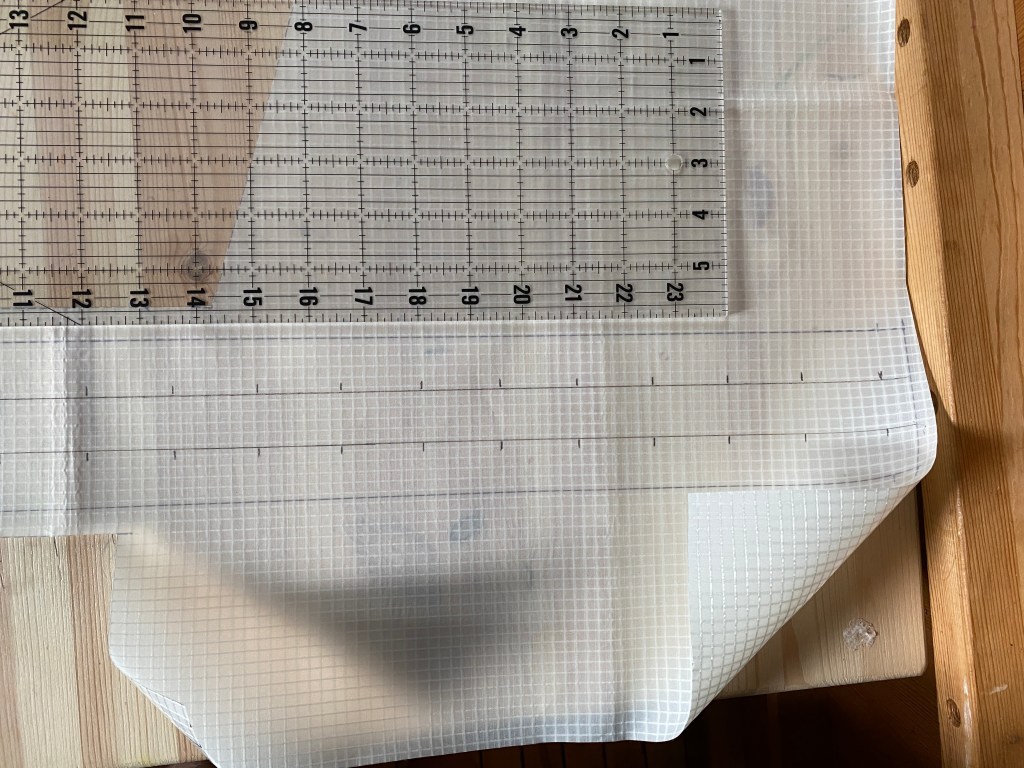
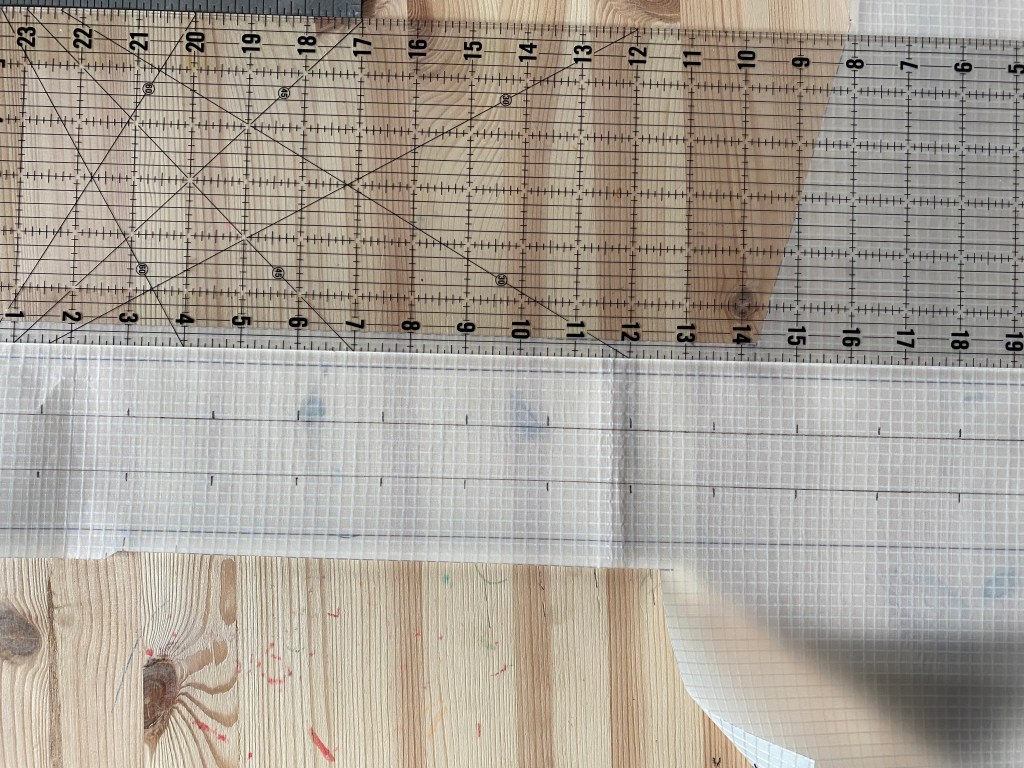
Above, you’ll see some shots of the completed bag mounted to my e-converted Schwinn followed by some progress shots of just the panels in construction. I landed on a one-wrap through webbing attachment style for this bag and have continued to use it on subsequent bags. The ease and speed of attaching/detaching is hard to beat, and it looks pretty good, especially when you can find one wrap that disappears into your paint job. I don’t love the looks of big velcro pieces sewn into seams and the functionality of shock cord, namely how long it takes to install, is a real turn-off. One-wrap it is. It looks good to my eye and holds the bag on plenty securely for the kind of riding I do.
I learned a lot about framie construction from this bag. That was partly on purpose. It’s my least nice bike and I knew I’d be fine with it having my least nice bag on it. My plan was to learn some lessons from this pack and take them to the higher-stakes bags. Good plan, me.
The Ribble
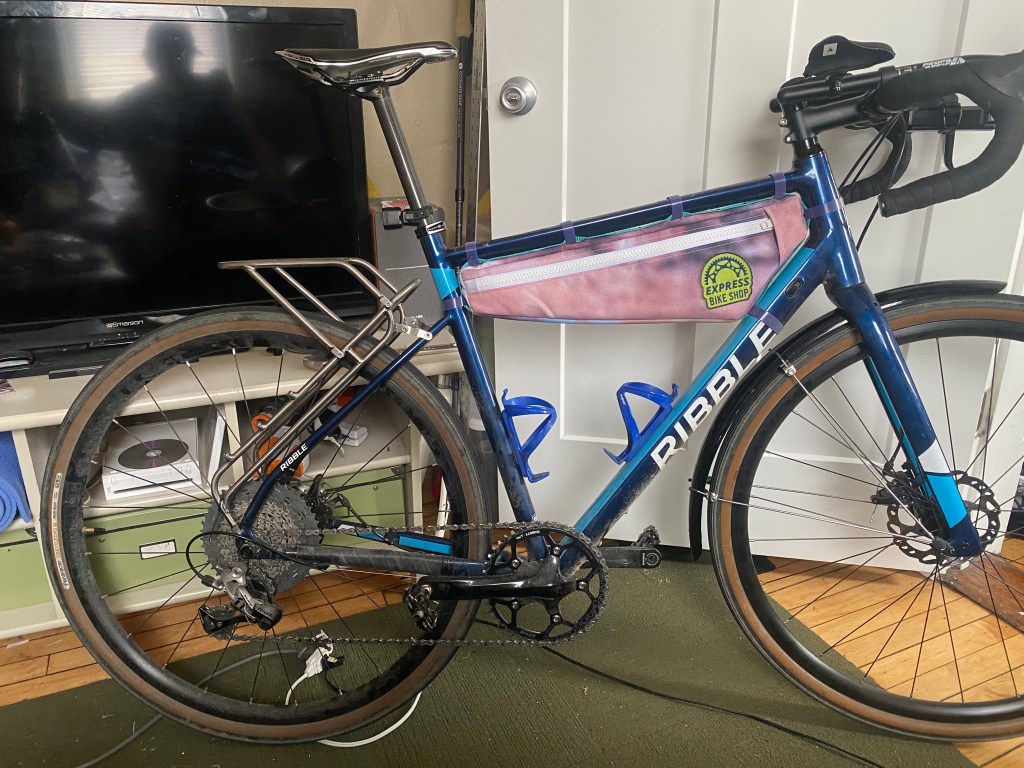
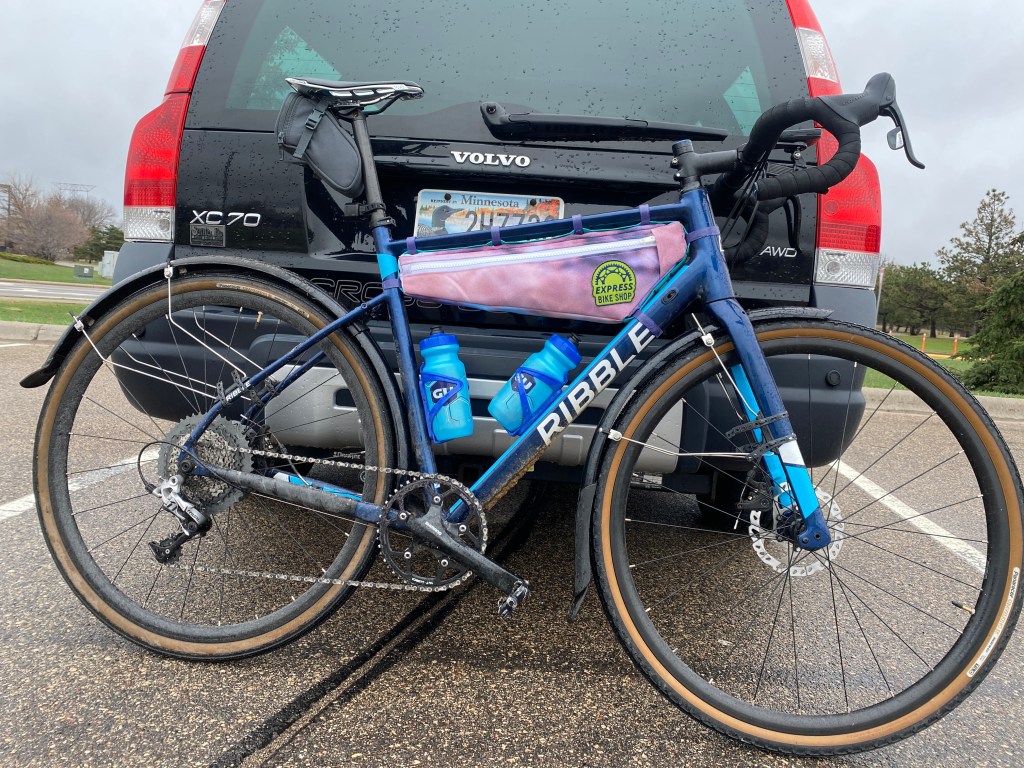
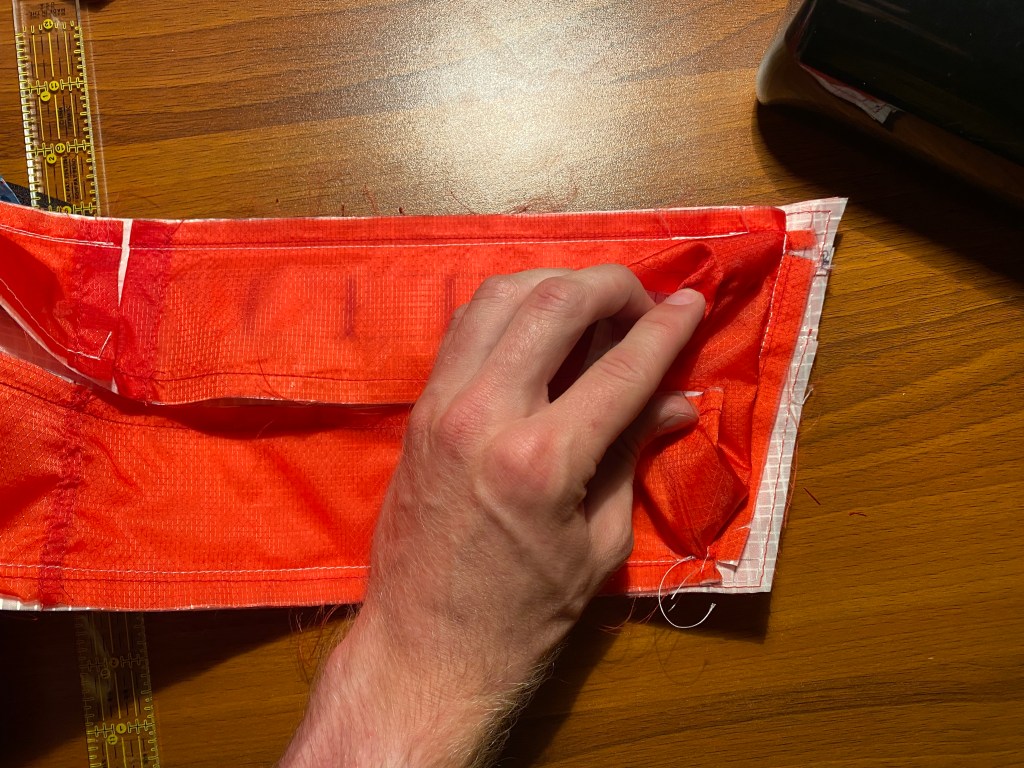
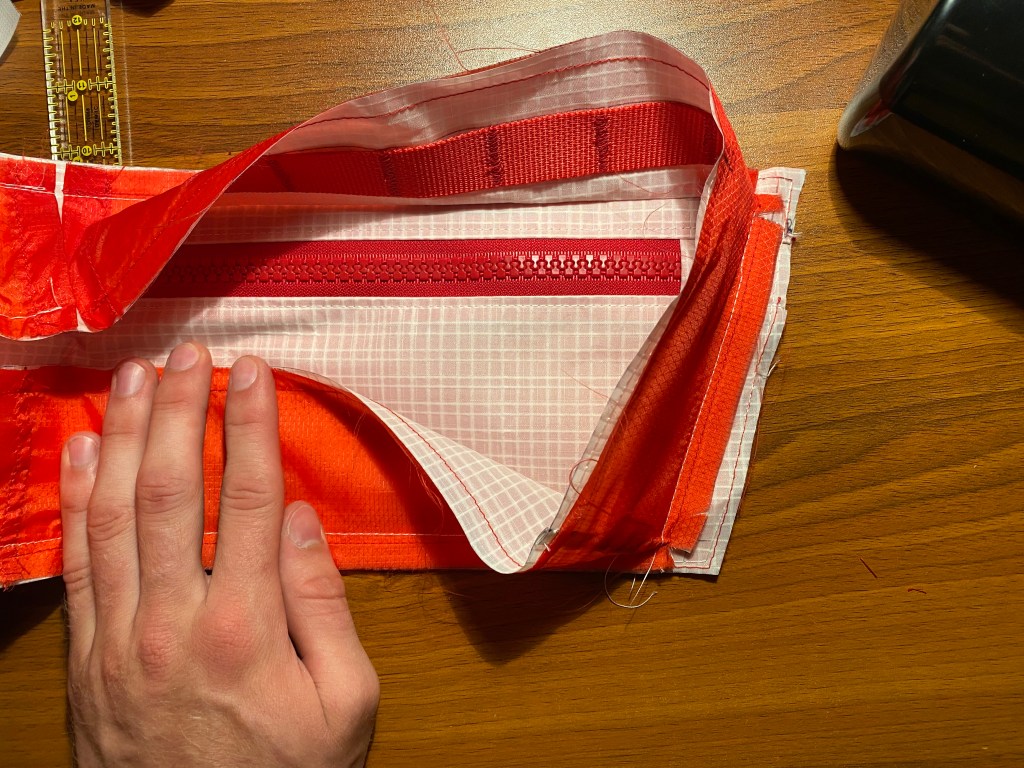
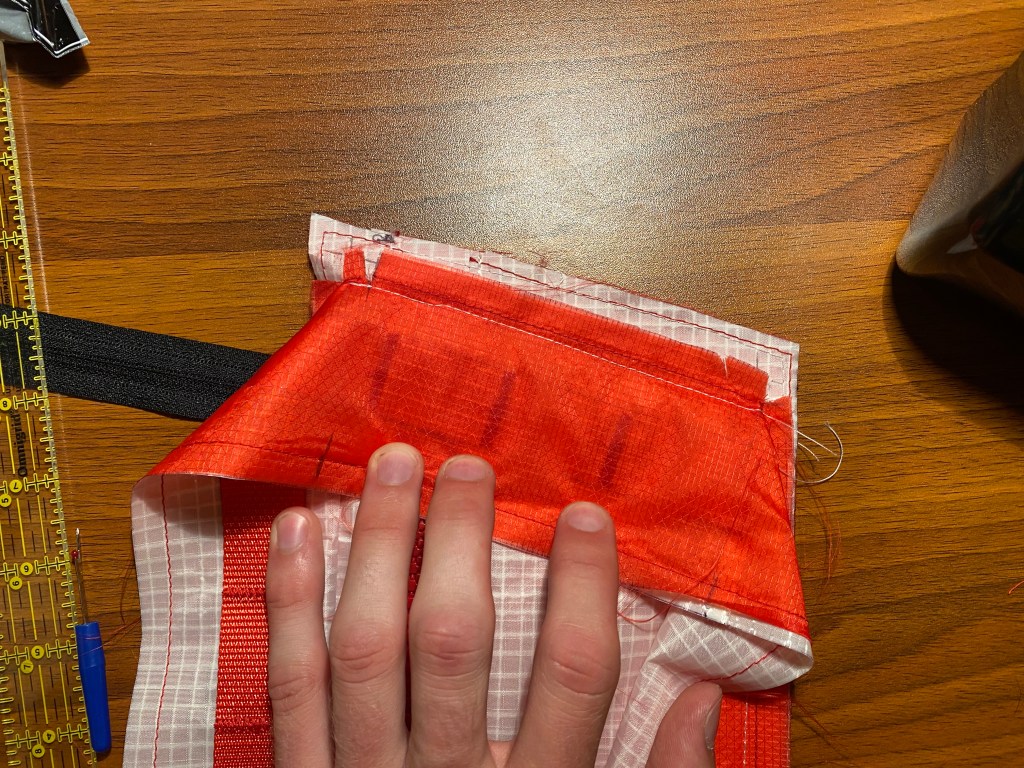
In another classic turn of events, I finished this one the night before a 125k cruise to Wisconsin and back with the MN Randonneurs. I knew I’d want some extra storage for snacks and layers, as the forecast was yucky and it was a longish ride. In my haste, I decided against building in the structure to allow me to stiffen the gusset as I had on the Woodlands’ bag. I plan to go back and re-make the gusset this winter. This bag was made from an old window display from the store I work at. It’s a sort of burly canvas with a seemingly waterproof coating on the back. I believe it to be made of recycled plastic, probably polyester and PVC. It’s a bit too heavy for a frame bag application but I like the story it tells. It’s lined with light blue ripstop and features a patch from the best bike shop in the Twin Cities. This one used YKK #10 Vislon zippers and the marine-grade, corrosion-resistant sliders, so that if I dripped a bunch of sweat all over it, it’d be much less likely to get all messy. Still holding up great.
This bag was my first experience with sloping top tubes. I opted for a bag bottom that runs level with the ground to try to avoid crowding at the bottom end when contents are jostled in the course of a ride. I think this was a good move. On bikes with sloping top tubes, you end up with more room at the front for more frequently accessed items, and you can stash emergency gear or your last-resort, emotional support gummy bears at the back.
The Pacer
aka the speedboat aka the retro diner
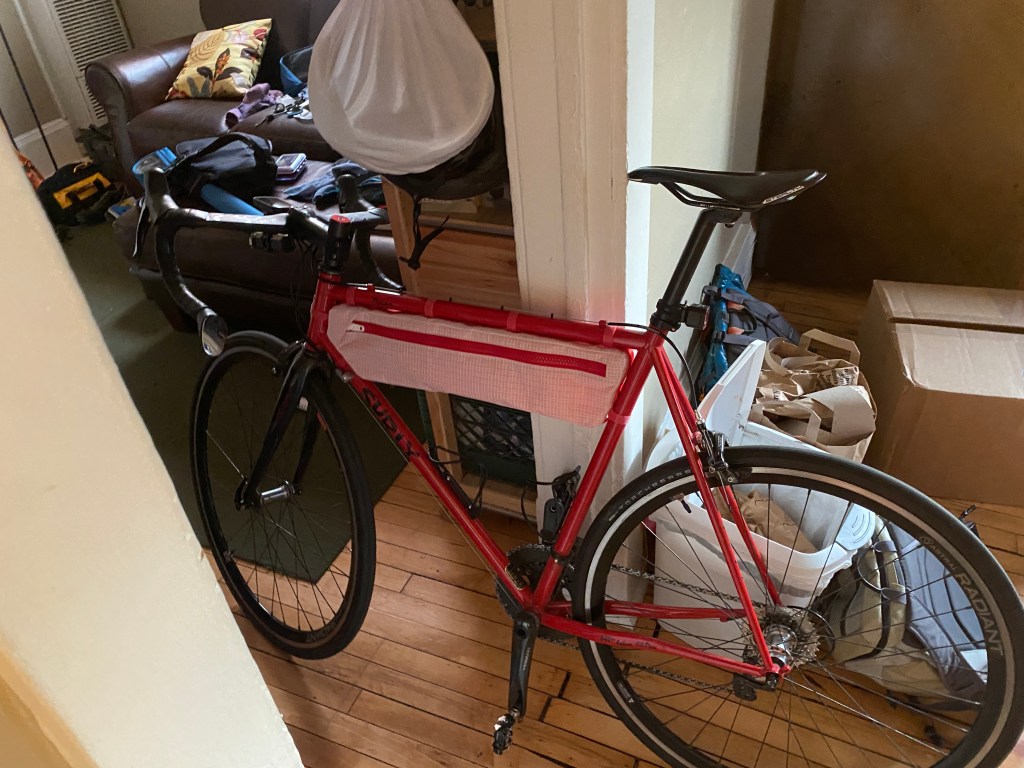

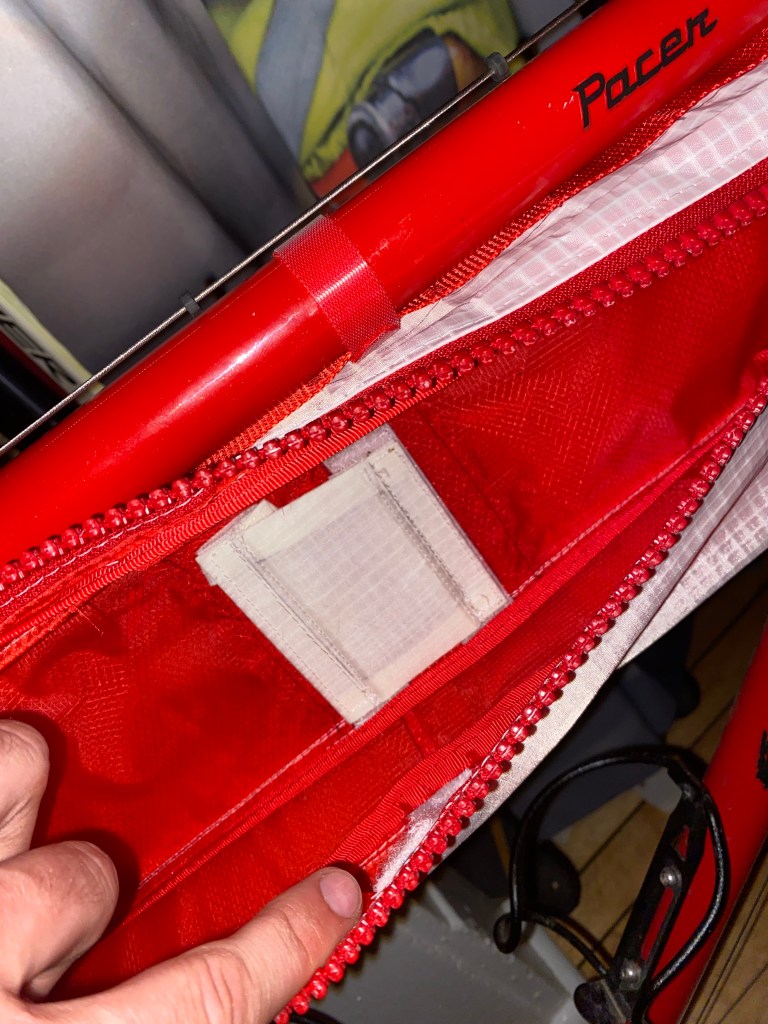
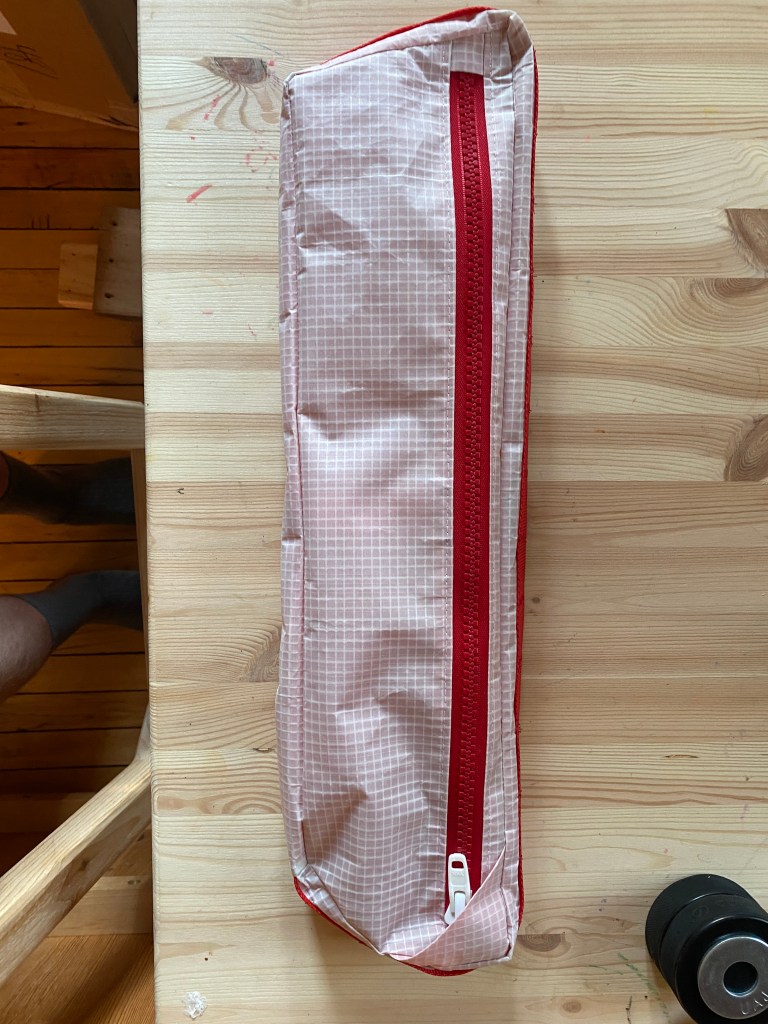
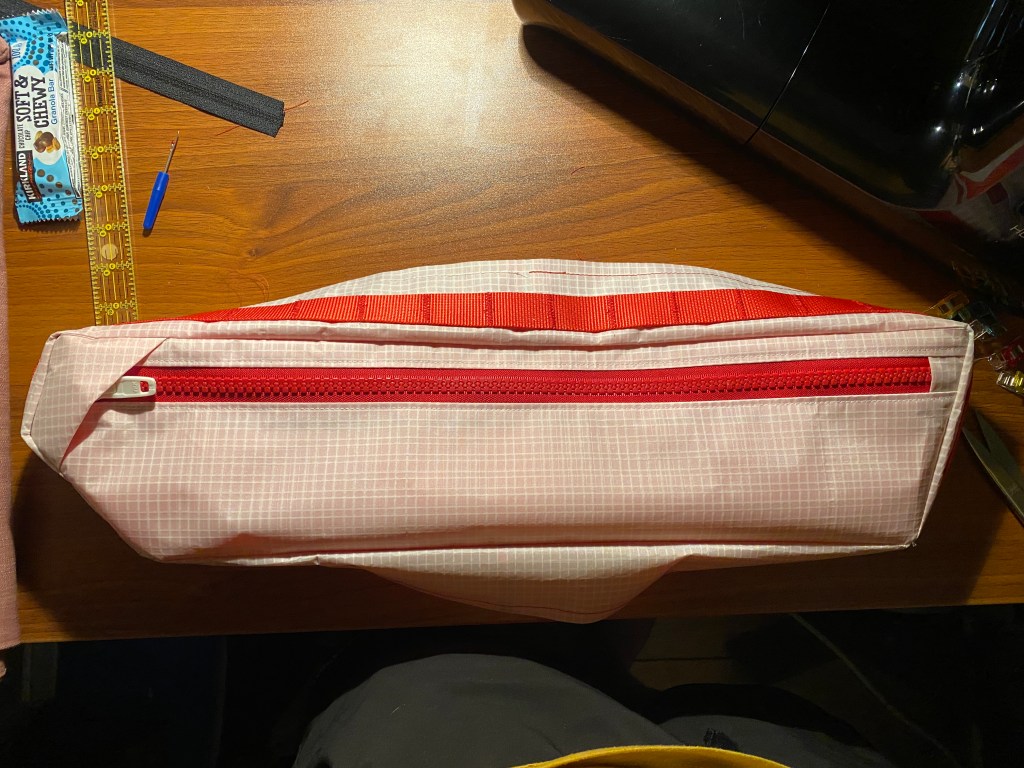

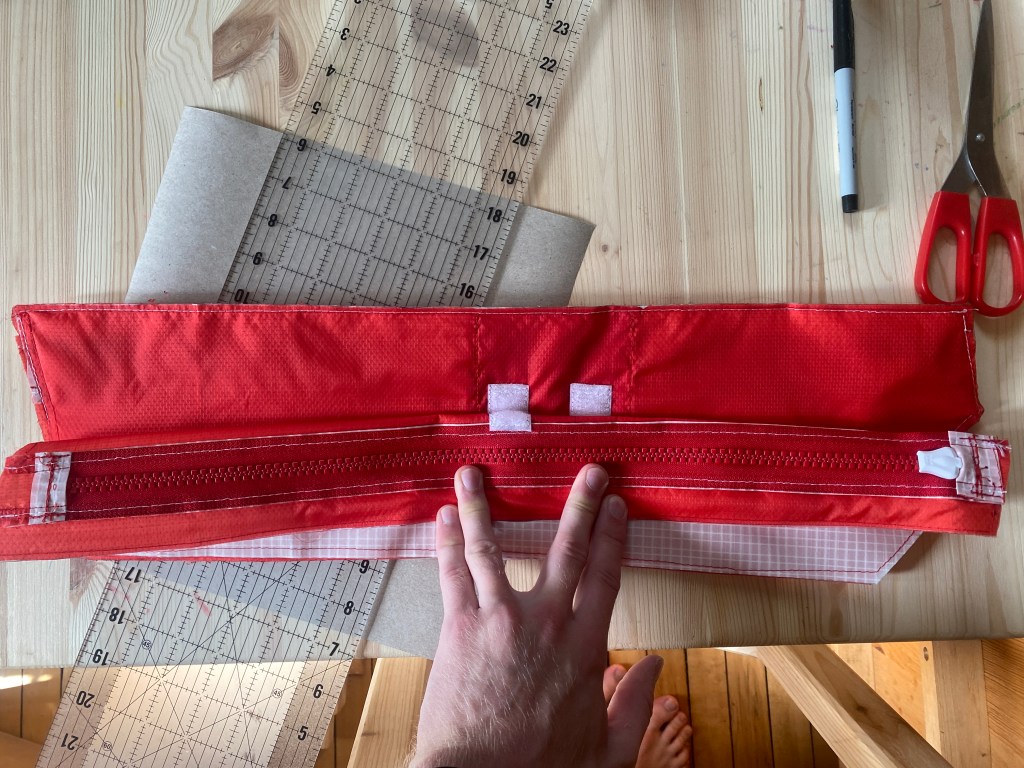
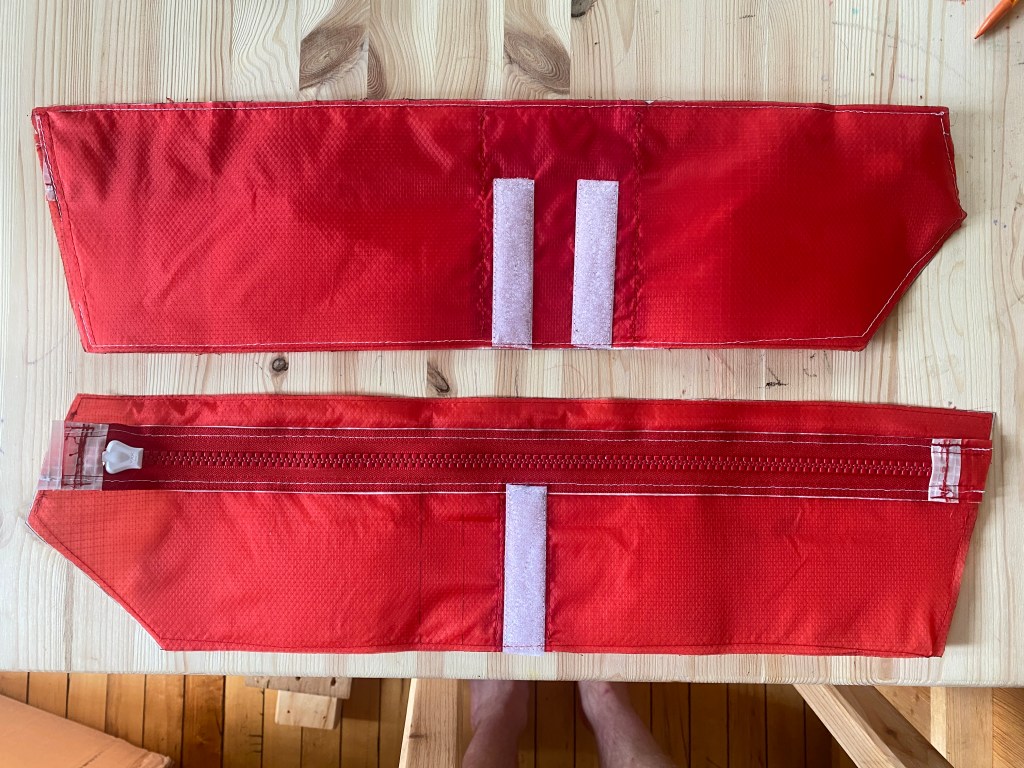
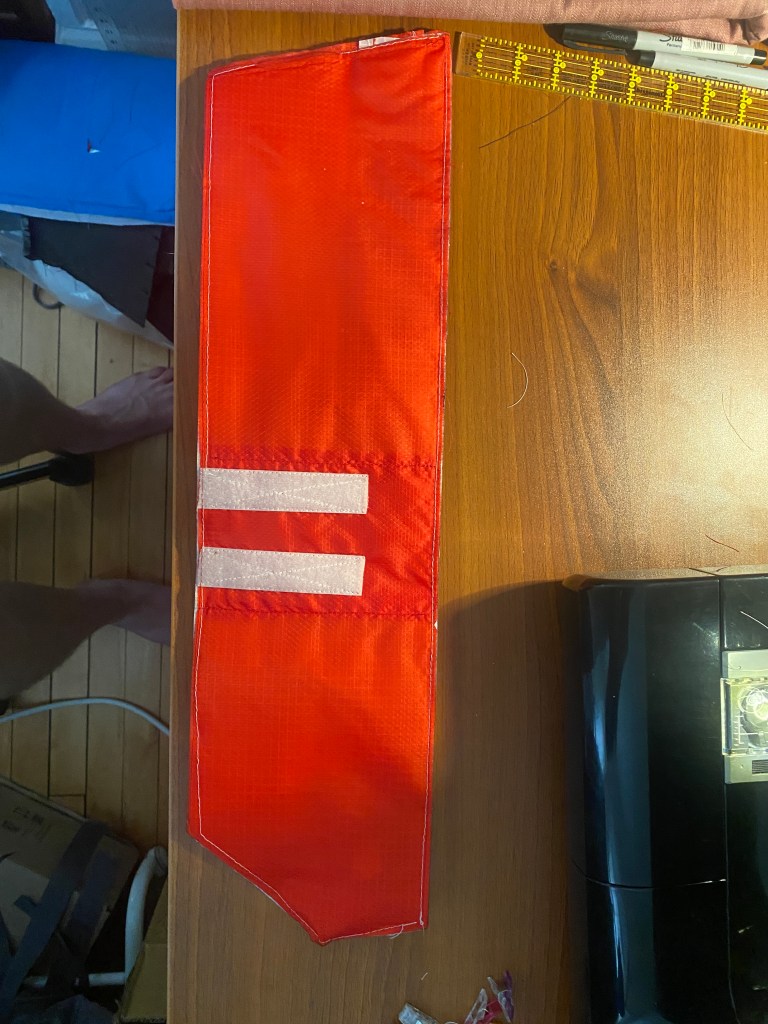
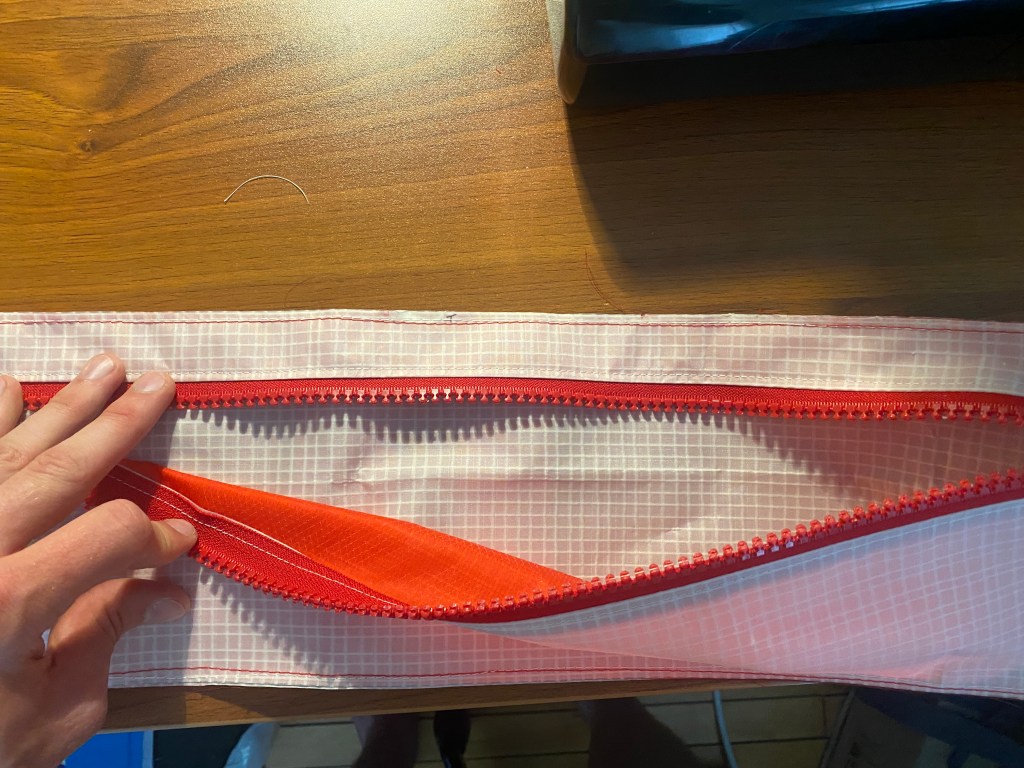
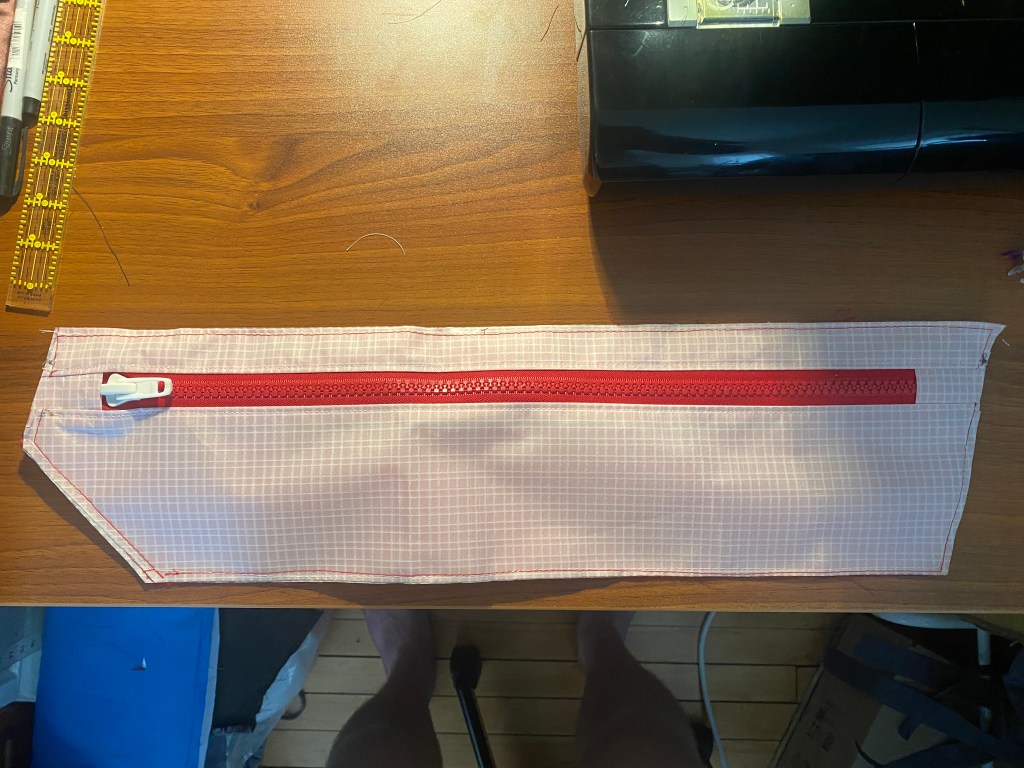
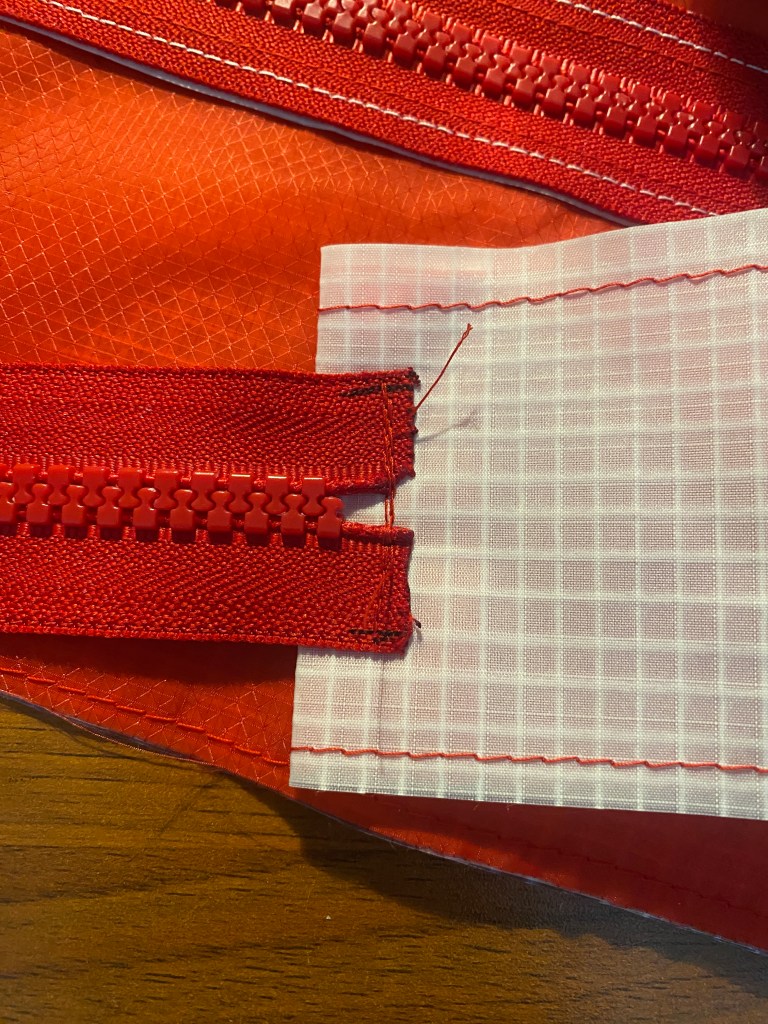
More #10 Vislons with marine-grade sliders. More HDPE stiffening. Some slightly more daring color usage, and a newly introduced velcro removable divider to separate the body of the bag into 2 compartments, if desired.
This bag is by far the coolest one I’ve made yet. It’s crispy. It’s beautiful. It really pops on the Pacer’s frame while matching it beautifully. I chose the red lining fabric so that it would show through the translucent white external fabric. I’m thrilled with how it turned out. I realized as I was making it that the color palette reminded me of an old speedboat, hence the aka’s up top.
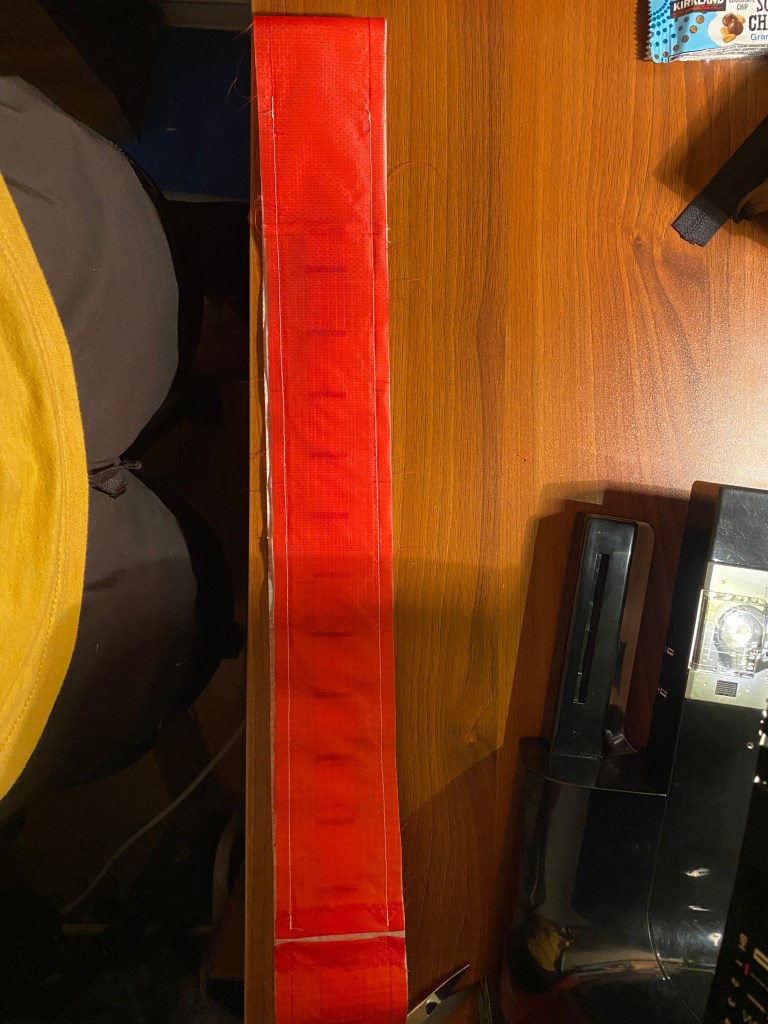
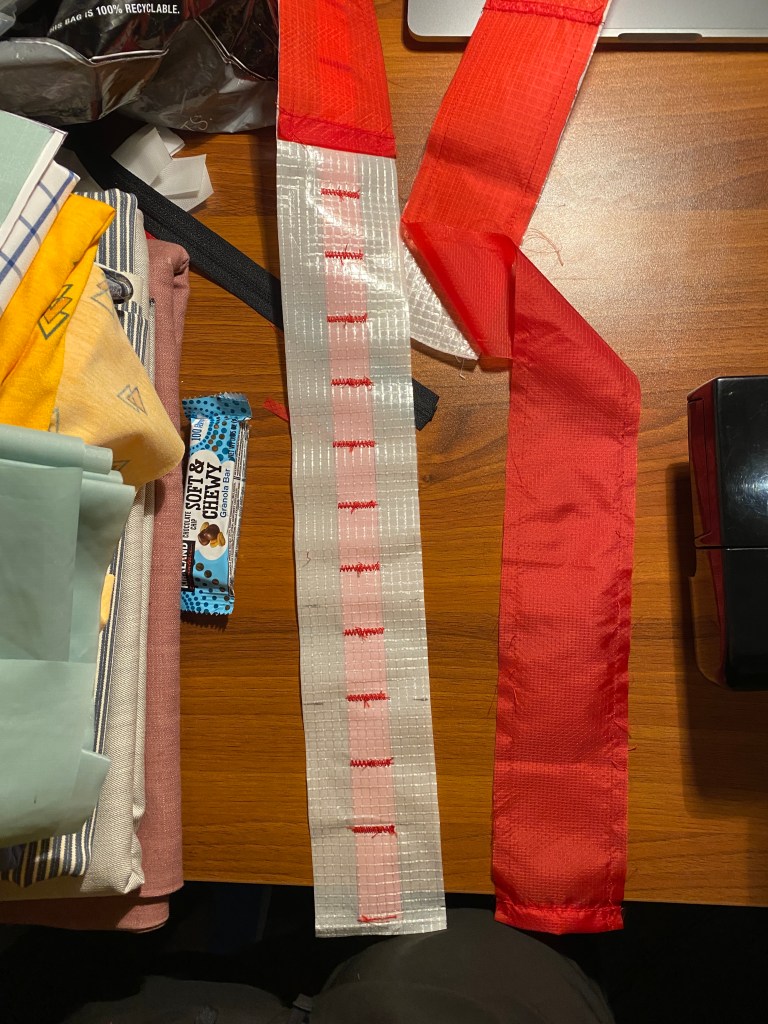
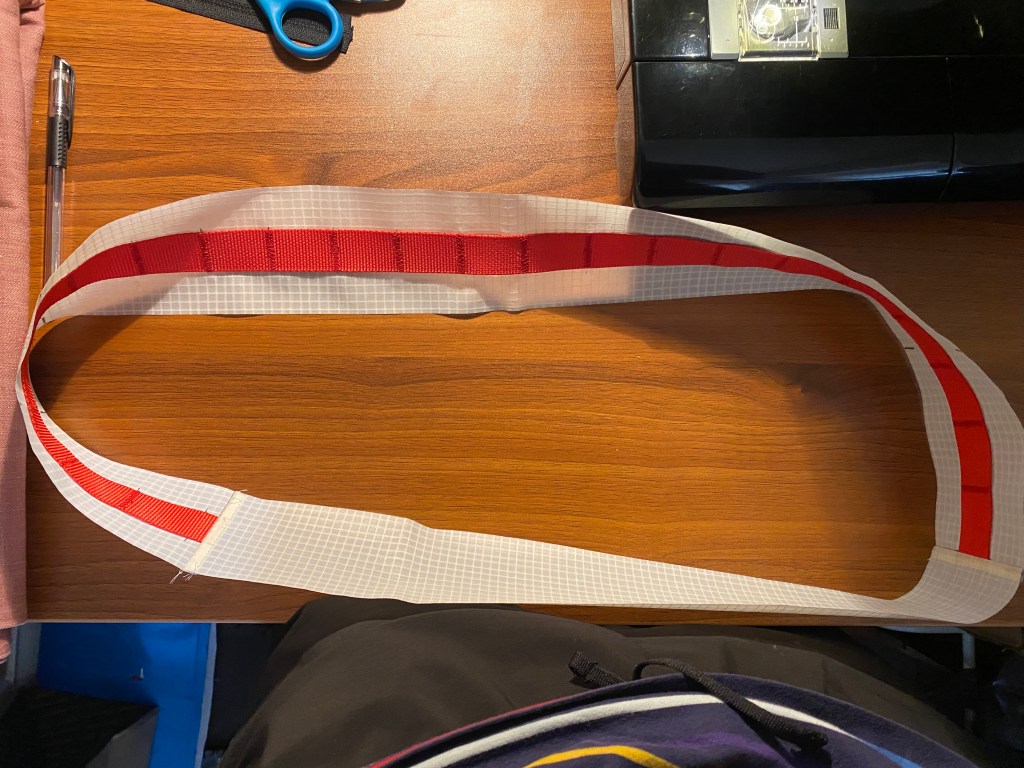
As shown in a few of the progress pictures, I undermeasured the gusset length, though you certainly can’t tell from looking at the finished product. As a result, the whole bag is about 1/4″-1/2″ shorter than planned. Happy accident. One of the things I learned as a carpenter was how to hide your mistakes. I’m still learning where to bury extra material and mismatched seams as a seamstress, but I think just an even chop off the back end worked pretty well on this one. The excess material was trimmed before the edges were bound.
The next one
I’ve heard it said that those who can’t do teach. Or do… teach. I’m not 100% sure how to format it, but I’m testing my knowledge by helping my lovely girlfriend with a framie for her new bike, which I should probably make a separate post about now that I’m thinking about it. Keep an eye out for that. This one will have #8 vislon zippers and the same webbing/one-wrap attachment system that has worked so well for me thus far. It will also share the HDPE stiffener and velcro divider, all wrapped in a delightful periwinkle 500D cordura. Should be fun.
